With no obligation and zero initial investment, TestMonitor’s free, 14-day trial is an obvious choice for those seeking a new level of simplified, intuitive testing. With the free trial, you’ll have the opportunity to test the waters and see if our industry-leading UAT interface is right for your project. 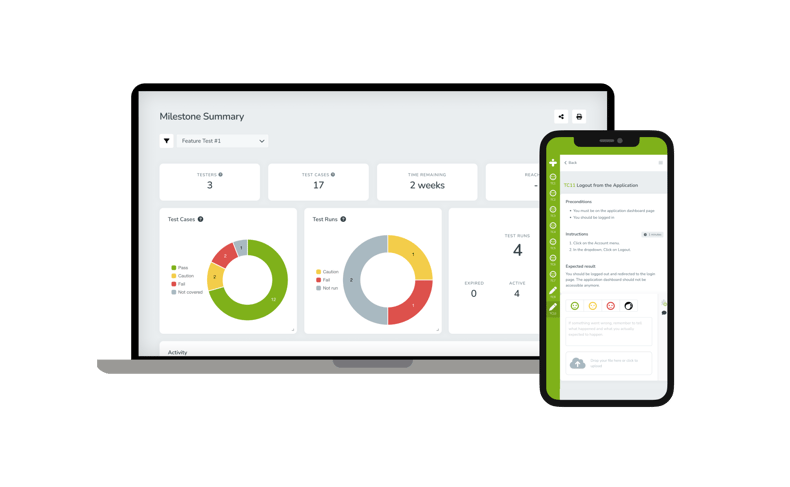
As you take this trial journey, we encourage you to collaborate with your team. Discuss your individual experiences with TestMonitor. We’re confident you’ll see immediate benefits in the first few days of your trial period. TestMonitor is ready to structure your transition to next-level test management and optimize your project.
The Journey Begins
Welcome to the start of your trial. To begin, simply click here and submit the easy-to-use form (we will never share your information with third parties).
Once you’ve provided contact information, you’ll receive a confirmation email and be prompted to create your own URL (yourcompanyname.testmonitor.com). You’ll then be promoted to create a username and password for your URL login. You’re almost there!
Launch a Project
Launch a project? Wait. There must be some mistake. No way can we simply ... just start!
With TestMonitor, you’ll be off and running with a rich dashboard of options to launch your project. No special training needed. Start designing, planning, and running tests at your pace.
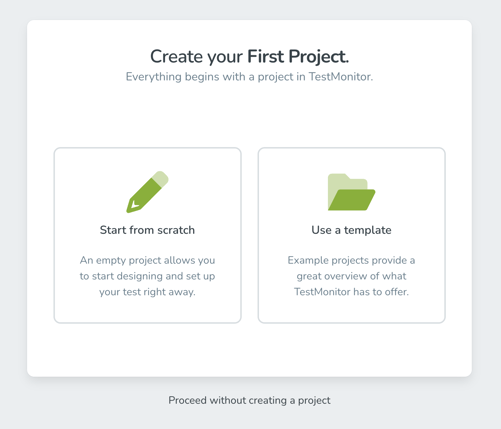
And you have options: You can start from scratch—create an empty project that allows you to start designing and set up your test right away. You can also choose a template with a collection of example projects to provide a dynamic overview of what TestMonitor has to offer. Not quite ready to jump in? Learn the basics of TestMonitor by watching our video tutorials.
Getting to Know the Top Menu
After you get a feel for the dashboard layout, it’s time to start exploring the top-level menu items. Click the TestMonitor logo on the top left to open the project dashboard.
When you have several projects in the TestMonitor environment, open the project dashboard by selecting a project in the header menu. Read the Project Dashboard article to learn more about its features.
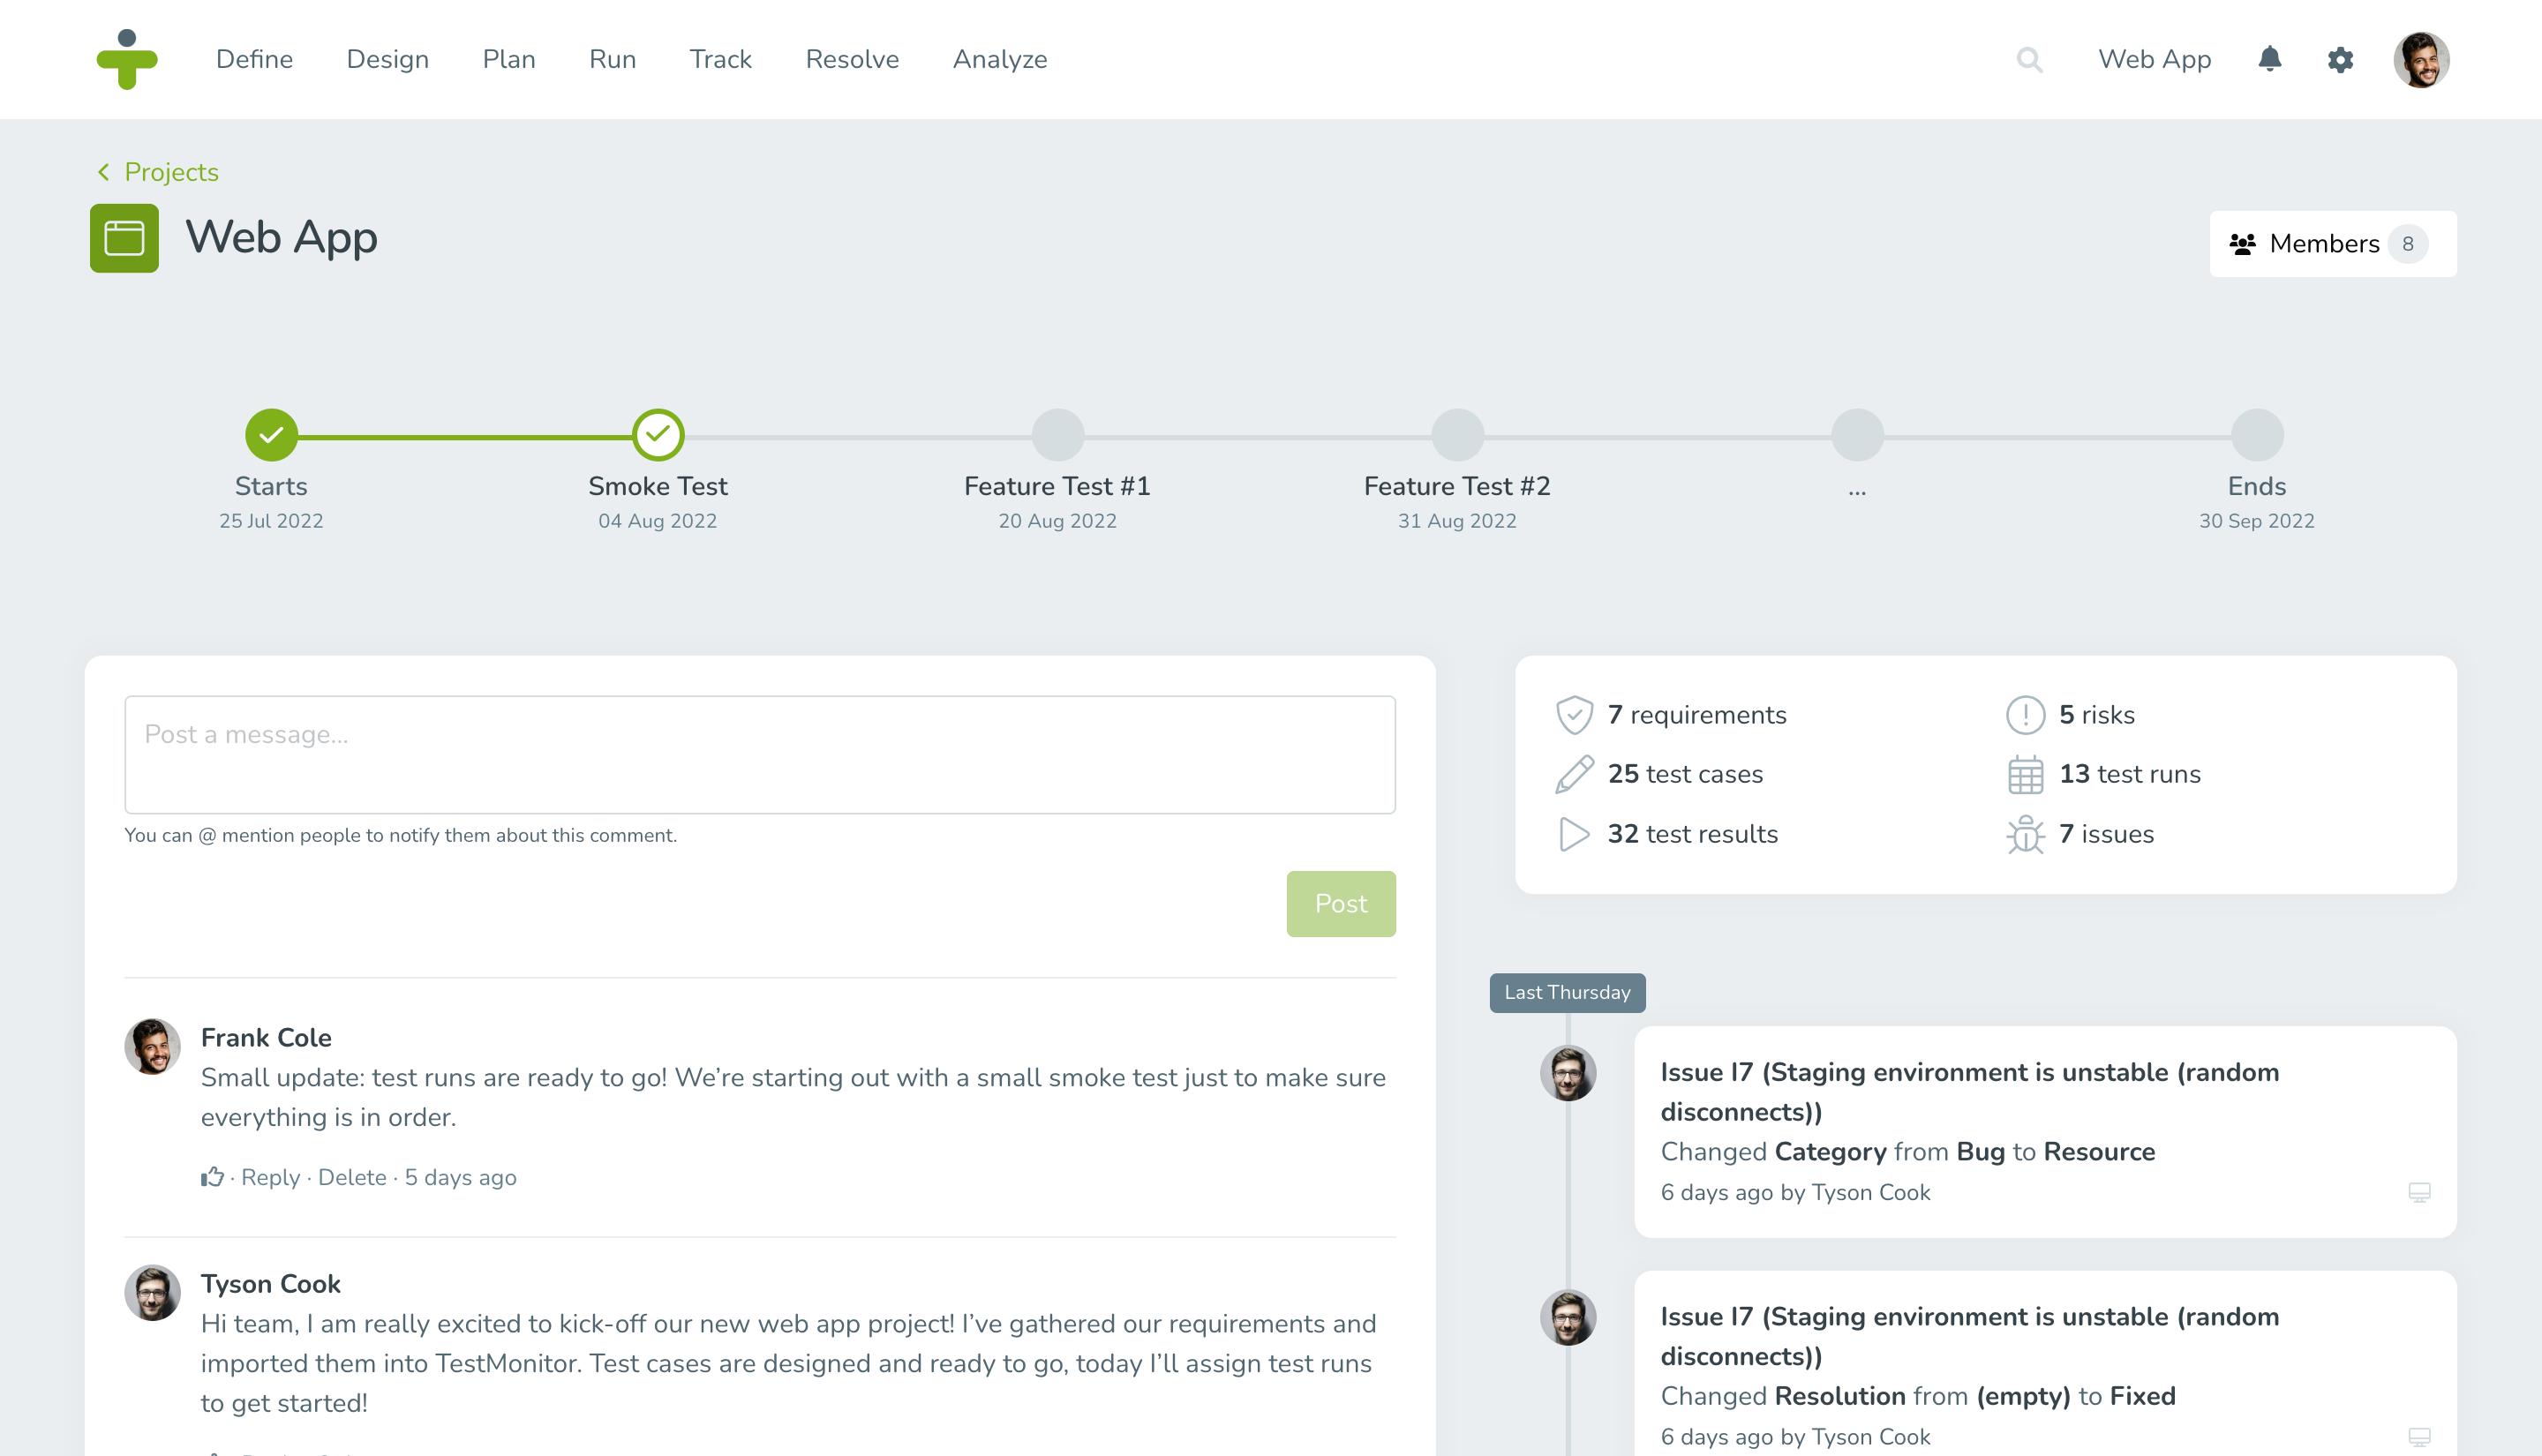
The structure of the TestMonitor menu is based on the process flow of a test. In this way, the menu leads you step by step through the application process—from setting up a test to drafting conclusions based on reports.
Depending on the role assigned to your account by the administrator, you can see one or more of the following menu items: Define, Design, Plan, Run, Track, Resolve, and Report.
Here’s a basic overview of all the menu items:
- Define: Set requirements and risks.
- Design: Create your test suite and test cases.
- Plan: Set a milestone and its test runs.
- Run: Launch a test. (Note: Once test runs are planned, testers can start testing. Every tester has his or her personal overview of assigned test runs.)
- Track: Track the progress and outcome of test cases and test runs.
- Resolve: Manage issues.
- Reports: Get insight into the progress and outcome of project tests.
Go the Distance
That’s it. You’re on your way to a next-level experience in manual software testing.
Wait, what about questions?
No problem—TestMonitor’s got you covered. We offer a variety of support resources. Check them out: Video tutorials, an extensive knowledge base, webinars, tutorial modules, and this blog.
Ready to begin the journey? Start your free trial today.